Ship Your First iOS App: 6 Steps to Build, Test, and Publish

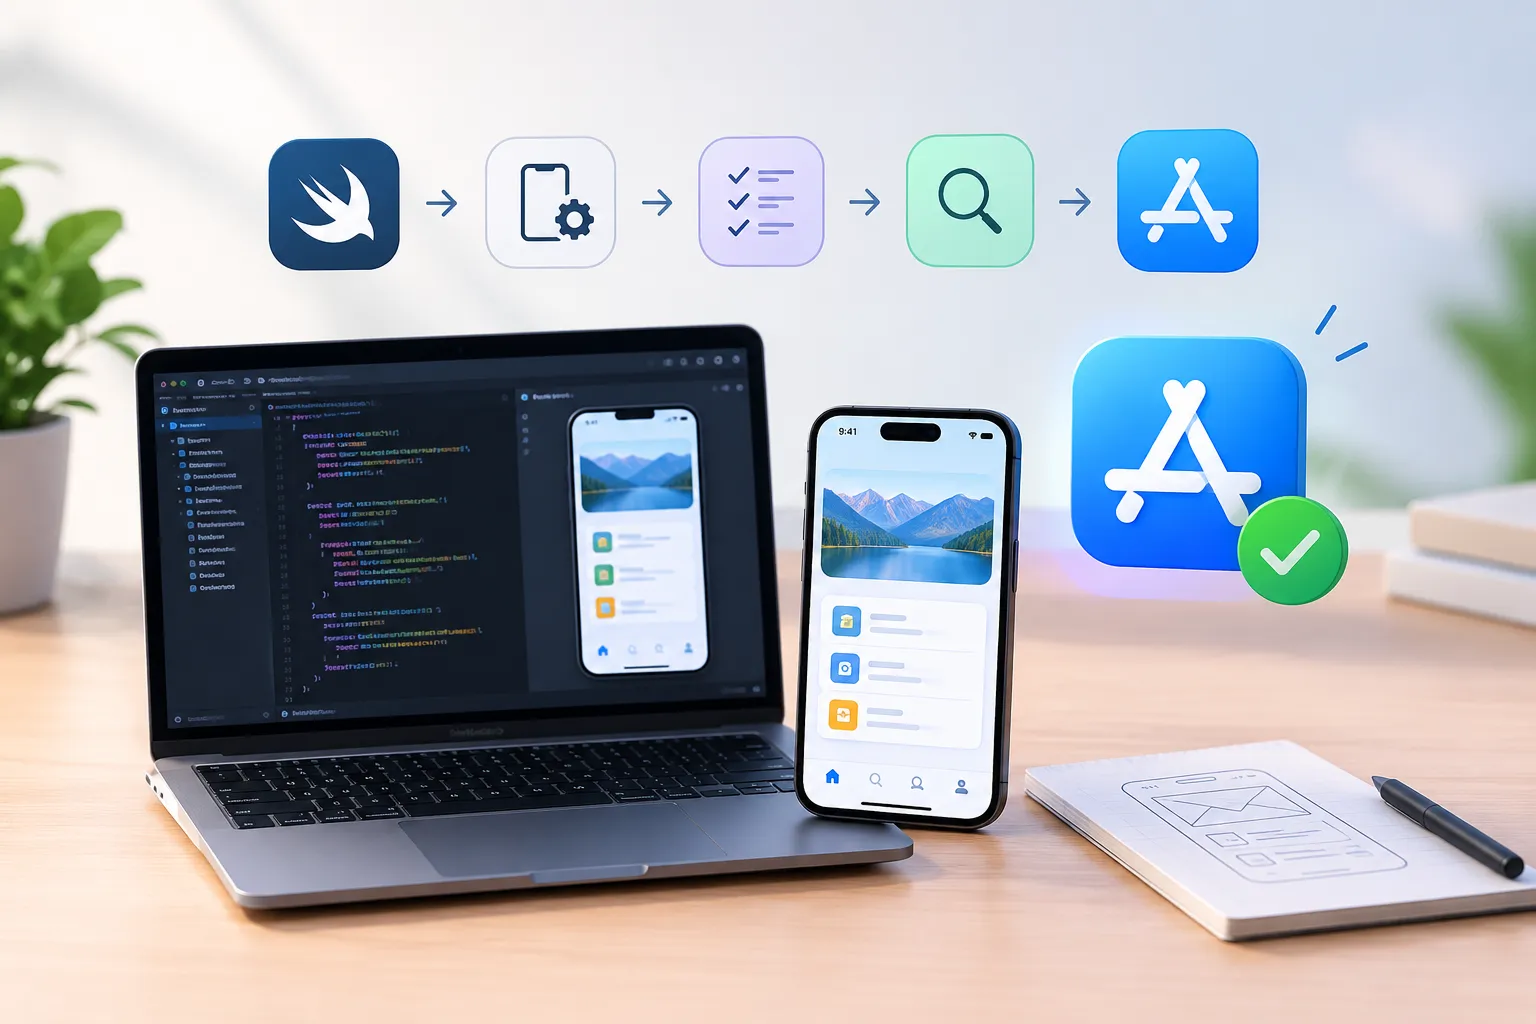
iOS app development is the process of designing, coding, testing, and publishing software that runs on Apple hardware, iPhone, iPad, and Apple Watch.
iOS app development is the process of designing, coding, testing, and publishing software that runs on Apple hardware, iPhone, iPad, and Apple Watch, using Swift as the language, Xcode as the build environment, and the App Store as the distribution channel. You need a Mac, a free or paid Apple Developer account, and a working grasp of the iOS SDK to get started. This guide walks through the full path from an empty Xcode project to a live App Store listing in six steps: the toolchain, architecture, a real code example, testing, App Store Connect submission, realistic timelines, and what it actually costs to ship, whether you build it yourself or bring in a team.
Two different readers land on this guide. If you are a developer, the six steps below plus the code example get you to a working app. If you run a US business and are trying to decide whether to learn this yourself, hire a freelancer, or bring in a studio, read the same six steps as a checklist for what any team you hire should already have covered, then jump to the cost and timeline sections further down for real numbers.
What Is iOS App Development?
At its core, iOS app development means writing an application in Swift, building its interface in SwiftUI or UIKit, wiring it to data through networking and local storage, and submitting it through Apple's review process before it reaches the App Store. Every legitimate native app on the store passes through this same pipeline, regardless of whether a solo beginner or a large engineering team built it.
The iOS SDK is the collection of frameworks your app draws from: camera access, location services, push notifications, HealthKit, ARKit for augmented reality, and the newer Apple Intelligence APIs for on-device AI features. You do not need to touch most of these for a first app, but knowing they exist shapes what becomes possible once you move past the basics.
What You Need Before You Start
A Mac. Xcode only runs on macOS, so there is no way around this requirement for real iOS development.
An Apple Developer Program membership, $99 per year, required before you can submit anything to the App Store, though you can build and test locally without it.
Xcode, downloaded free from the Mac App Store, bundling the compiler, interface builder, and iOS Simulator.
Basic programming familiarity. You do not need prior Swift experience, but comfort with any programming language shortens the learning curve considerably.
If you do not own a Mac yet and want to test the waters first, Swift Playgrounds on iPad teaches real Swift syntax through interactive lessons without needing Xcode at all. It will not get you to a shipped App Store app, since that still requires Xcode on a Mac, but it is a genuinely useful on-ramp for absolute beginners deciding whether iOS development is worth the investment.
If you are a US business owner reading this list and thinking it sounds like a part-time hire, not a weekend project, that instinct is usually right. The requirements above are the floor, not the whole job. A production app also needs the architecture, testing, and App Store submission discipline covered in the rest of this guide, which is exactly where most solo timelines stretch from weeks into months.
Swift, SwiftUI, and Xcode: The iOS Development Toolchain Explained
Four pieces make up almost everything you will touch as a beginner.
Swift: Apple's primary language since 2014, the default choice for essentially every new project.
SwiftUI: a declarative framework for building interfaces. You describe what the UI should look like for a given state, and SwiftUI handles the rendering.
UIKit: the older, imperative UI framework. Still common in mature, established apps, but not where a beginner should start today.
Xcode: the IDE that ties everything together, code editor, interface builder, Simulator, and Instruments profiling tools in one application.
As your app grows, you will also run into dependency management. Swift Package Manager, built directly into Xcode, is the modern default for pulling in third-party libraries. CocoaPods, an older third-party tool, still shows up in legacy codebases and some libraries that have not migrated to Swift Package Manager yet. For a first project, Swift Package Manager alone is enough.
iOS App Architecture: MVVM, State Management, and Data
Most beginner-friendly iOS projects follow MVVM, Model, View, ViewModel, which separates your data, your logic, and your screens so a bug in one layer does not ripple through the rest. The older MVC pattern, Model, View, Controller, still appears in UIKit-era code and tutorials.
SwiftUI's state management is a real shift from older imperative UI code. Mark a variable with @State, change its value, and the view updates itself automatically. Apple's Combine framework and Swift's native async/await concurrency model both handle asynchronous data flow, fetching from an API, waiting on a database query, without the callback-heavy code that older iOS projects relied on.
For data, most apps need two things: networking, typically through URLSession, and local persistence, through Core Data, the newer SwiftData framework, or simple file storage for lightweight needs. SwiftData, introduced as a modern alternative to Core Data, uses Swift's native syntax and pairs naturally with SwiftUI, making it the more approachable starting point for a first app.
A Simple SwiftUI Code Example
Here is what a minimal, functioning SwiftUI screen actually looks like, a counter with state that updates the interface automatically.
swift
import SwiftUI

struct CounterView: View {
    @State private var count = 0

    var body: some View {
        VStack(spacing: 16) {
            Text("Count: \(count)")
                .font(.title)
            Button("Tap Me") {
                count += 1
            }
            .buttonStyle(.borderedProminent)
        }
        .padding()
    }
}
Notice what is missing: no manual redraw calls, no delegate methods, no storyboard wiring. Changing count automatically re-renders the Text view, which is the core idea behind SwiftUI's declarative model and the main reason it is the recommended starting point over UIKit for anyone beginning iOS app development today.
The iOS App Development Process Step by Step
1. Set up the project and build initial screens
Create a new Xcode project, build your first screens using the iOS Simulator, which mimics dozens of device and OS version combinations without needing physical hardware.
2. Add networking and persistence
Wire your UI to real data using URLSession for API calls and Core Data or SwiftData for anything that needs to persist between app launches.
3. Test on real devices
Once logic works in the Simulator, test on physical hardware. This requires provisioning profiles and certificates from the Certificates, Identifiers and Profiles section of your Apple Developer account, Apple's mechanism for confirming your code is signed and trusted.
4. Run automated and manual tests
Cover unit tests for logic, UI tests for interface behavior, and a beta round through TestFlight with real external users before a public launch.
5. Profile performance with Instruments
Xcode's built-in Instruments suite flags memory leaks, CPU spikes, and battery drain before they reach users, a step first-time developers frequently skip and later regret.
6. Set up continuous integration
Automate builds and tests on every code change so regressions get caught early instead of compounding into a launch-week fire drill.
How to Publish Your First iOS App to the App Store
Getting an app live takes more than finished code. Enroll in the Apple Developer Program, then do the submission work inside App Store Connect, where you manage app metadata, pricing and availability, and build uploads from Xcode.
The App Privacy nutrition label
Before submission, App Store Connect requires you to fill out an App Privacy questionnaire, sometimes called the app's nutrition label, disclosing exactly what data your app collects and how it is used. Get this wrong or leave it incomplete and it becomes one of the more common, entirely avoidable causes of review delay.
Screenshot and asset requirements
App Store Connect requires screenshots sized for specific device classes, most notably the 6.9-inch and 6.5-inch iPhone display sizes and the 13-inch iPad display size, plus an app icon meeting Apple's exact resolution and format specifications. Get these wrong and your build gets rejected before a reviewer even opens the app.
TestFlight beta testing
TestFlight lets you distribute pre-release builds to up to 10,000 external testers before a public launch. Internal testers, anyone on your App Store Connect team, get access automatically; external testers need an invite and, for larger groups, a brief Apple review before their build goes out. Running at least one TestFlight round before submitting for full review catches the kind of bugs that only show up on real devices in real hands.
Common App Store rejection reasons
Rejection Cause | How to Avoid It |
|---|---|
Crashes on launch or during core flows | Test on multiple real devices and iOS versions before submitting, not just the Simulator |
Incomplete App Privacy disclosure | Fill out the nutrition label accurately before your first submission |
Misleading or inaccurate metadata | Match your description, screenshots, and keywords to what the app actually does |
Interface conflicts with Human Interface Guidelines | Review Apple's HIG for navigation and control patterns before finalizing UI |
Broken or placeholder functionality | Remove or finish any feature that is not fully working before submission |
First-time apps frequently need at least one resubmission cycle. Budget review time into your launch plan rather than treating it as a formality; treat this whole submission phase as its own project milestone.
Native iOS vs Cross-Platform: Which Should You Choose?
Native Swift development gives you the highest performance, immediate access to new SDK features the moment Apple releases them, and full support for platform-specific tools like Apple Intelligence, widgets, and Live Activities. Cross-platform frameworks like Flutter or React Native trade some of that immediacy for a single codebase that runs on both iOS and Android.
Choose native iOS development when performance or animation smoothness matters, when you need day-one access to new Apple features, or when your app leans heavily on hardware like the camera or ARKit. Choose cross-platform when you are shipping to iOS and Android simultaneously on a tight budget and your UI does not need deep platform-specific integration.
How Long Does It Take to Build and Ship an iOS App?
App Complexity | Realistic Timeline | Examples |
|---|---|---|
Simple single-screen or utility app | 2 to 4 weeks | Unit converter, habit tracker, basic to-do list |
Standard app with networking and accounts | 6 to 12 weeks | Content app, booking app, simple marketplace |
Complex app with backend integration, real-time features | 3 to 6 months | Social features, live data sync, multi-role platforms |
These ranges assume focused, consistent work, not a weekend sprint, and they do not include the App Store review cycle, which typically adds another few days to a couple of weeks depending on resubmissions.
What Does It Cost to Build an iOS App?
Path | Typical Range | Trade-off |
|---|---|---|
Learn and build it yourself | $99/year Developer Program + your time | Free in cash, expensive in months of learning curve before production-ready |
Freelance iOS developer | $5,000 to $30,000 | Faster than solo learning, quality varies widely, limited QA and architecture rigor |
Development studio or agency | $25,000 to $150,000+ | Structured process, testing, and App Store submission handled end to end |
The studio range varies this widely because scope drives it more than anything else: a simple utility app and a multi-role marketplace platform are not the same project, even though both are technically an iOS app.
Common Mistakes First-Time iOS Developers Make
Starting in UIKit instead of SwiftUI, which adds unnecessary complexity for a first project in 2026.
Skipping Instruments profiling until after launch, when memory leaks and battery drain are already hurting reviews.
Treating Simulator testing as sufficient and skipping real-device testing, where signing issues and hardware-specific bugs actually surface.
Submitting without a completed App Privacy nutrition label, guaranteeing at least one avoidable rejection.
Underestimating App Store review time and launching on a hard deadline with no buffer for resubmission.
How Enorness Approaches iOS App Development
Enorness builds native iOS apps through our Mobile Applications practice, using Swift and SwiftUI with the same MVVM architecture and TestFlight-first release process covered above. We treat App Store submission as a planned milestone with buffer for resubmission, not an afterthought bolted on at the end of a sprint.
Our own GrabEasy case study is a mobile-first product built and shipped end to end using this same process, from architecture decisions through App Store submission, and it is a useful reference point if you want to see the full pipeline applied to a real product rather than a demo.
Ready to Build Your First iOS App?
Whether you are scoping a solo project or you are a US business owner deciding it is time to bring in a team, getting the architecture and App Store process right from day one saves months later. Book a Strategy Call with Enorness and we will map your app idea into a realistic build timeline, cost estimate, and submission plan before you commit budget or write a line of Swift.
Frequently Asked Questions
Do I need a Mac to build an iOS app?
Yes. Xcode only runs on macOS, and there is no supported workaround for building a real, submittable iOS app on Windows or Linux. Swift Playgrounds on iPad can teach you Swift fundamentals without a Mac, but it cannot produce an App Store submission on its own.
Should a beginner learn SwiftUI or UIKit first?
SwiftUI. It is Apple's recommended framework for new projects, requires less code for the same result, and teaches state management concepts that carry over cleanly to every later app. UIKit only matters if you are maintaining an existing legacy codebase.
How much does Apple charge to publish an app?
The Apple Developer Program costs $99 per year, and that membership is required before you can submit any app to the App Store, regardless of whether the app itself is free or paid.
How many times does a new app typically get rejected before approval?
At least one resubmission is common for first-time apps. Crashes, incomplete App Privacy disclosures, and Human Interface Guidelines conflicts are the most frequent causes, and most are avoidable with a careful pre-submission review.
Is TestFlight required before submitting to the App Store?
It is not strictly required, but skipping it is a common mistake. TestFlight lets real users try your build on real devices before full review, catching issues that Simulator testing alone will not surface.
Is native iOS development worth it if I eventually also need Android?
It depends on your priorities. Native iOS gives you the best performance and day-one access to new Apple features, but if you need both platforms on a tight budget and your UI is relatively simple, a cross-platform framework like Flutter or React Native may get you to market faster on both platforms at once.


Let's Build Something Extraordinary
Turn ideas into intelligent products that drive real business results.